- prerequisites
- Step 1. Checkout all ThingsBoard PE Images
- Step 2. Pull ThingsBoard PE Images
- Step 3. Clone ThingsBoard PE Docker Compose scripts
- Step 4. Obtain your license key
- Step 5. Configure your license key
- Step 6. Configure deployment type
- Step 7. Configure ThingsBoard database
- Step 8. Choose ThingsBoard queue service
- Step 9. Running
- Upgrading
- Generate certificate for HTTPS
This guide will help you to setup ThingsBoard in cluster mode with Docker Compose. For this purpose, we will use docker container images available on Docker Hub.
ThingsBoard Microservices are running in dockerized environment. Before starting please make sure Docker CE e Docker Compose are installed in your system.
Please note that for the deployment of Rule Engine as a separate service, an additional separate License Key is required.
Don’t forget to add your linux user to the docker group. See Manage Docker as a non-root user.
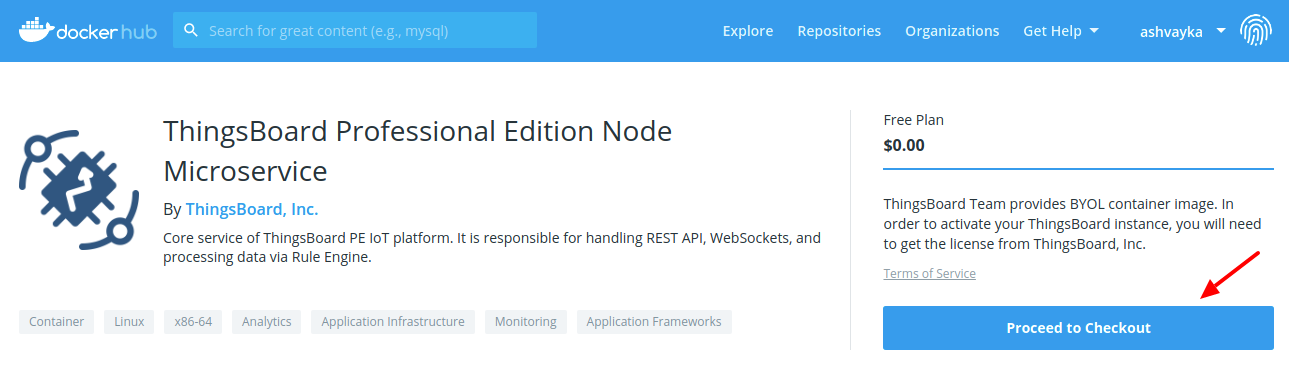
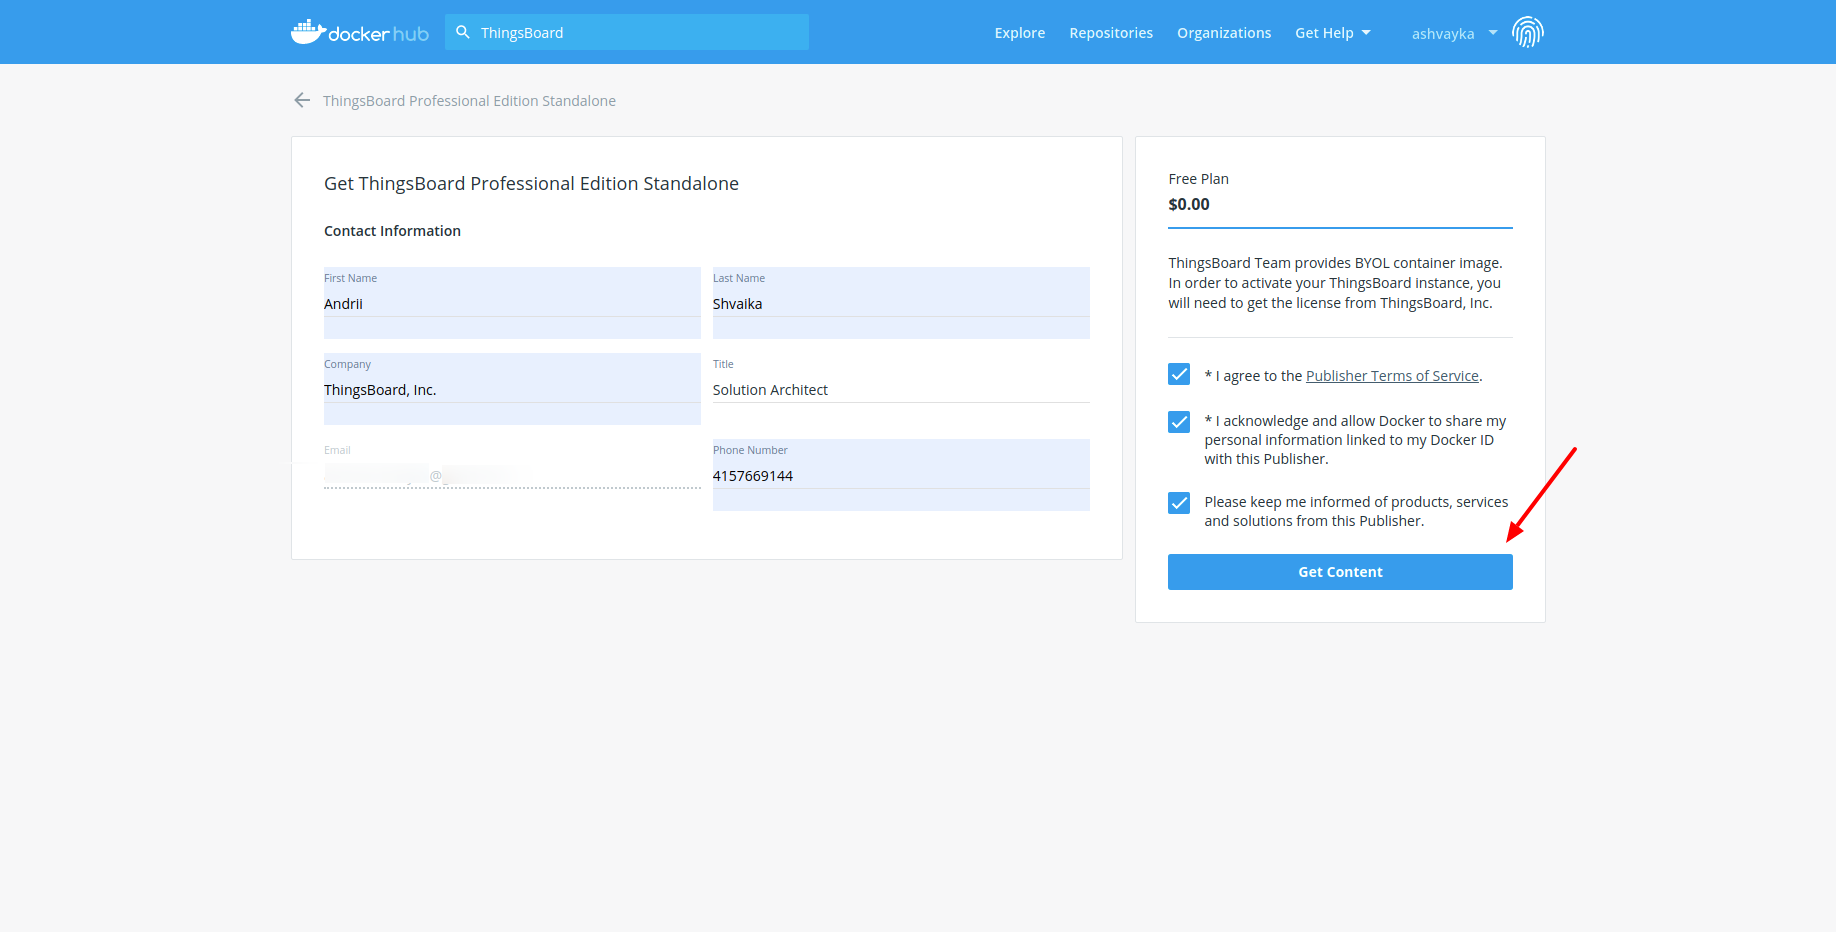
Step 1. Checkout all ThingsBoard PE Images
Please checkout all ThingsBoard PE Images from Docker Hub. You will need to open all verified images and click on “Proceed to checkout” to accept ThingsBoard PE license agreement.
Listing all images mandatory for checkout for your convenience below:
- ThingsBoard PE Node Microservice
- ThingsBoard PE Web UI Microservice
- ThingsBoard PE Web Report Microservice
- ThingsBoard PE JS Executor Microservice
- ThingsBoard PE HTTP Transport Microservice
- ThingsBoard PE MQTT Transport Microservice
- ThingsBoard PE CoAP Transport Microservice
- ThingsBoard PE LwM2M Transport Microservice
- ThingsBoard PE SNMP Transport Microservice
Populate basic information about yourself and click “Get Content”
Step 2. Pull ThingsBoard PE Images
Make sure your have logged in to docker hub using command line.
1
2
3
4
5
6
7
8
9
docker pull store/thingsboard/tb-pe-node:3.3.1PE
docker pull store/thingsboard/tb-pe-web-ui:3.3.1PE
docker pull store/thingsboard/tb-pe-web-report:3.3.1PE
docker pull store/thingsboard/tb-pe-js-executor:3.3.1PE
docker pull store/thingsboard/tb-pe-http-transport:3.3.1PE
docker pull store/thingsboard/tb-pe-mqtt-transport:3.3.1PE
docker pull store/thingsboard/tb-pe-coap-transport:3.3.1PE
docker pull store/thingsboard/tb-pe-lwm2m-transport:3.3.1PE
docker pull store/thingsboard/tb-pe-snmp-transport:3.3.1PE
Step 3. Clone ThingsBoard PE Docker Compose scripts
1
2
3
4
git clone https://github.com/thingsboard/thingsboard-pe-docker-compose.git tb-pe-docker-compose
cd tb-pe-docker-compose
# checkout latest release branch
git checkout release-3.3
Step 4. Obtain your license key
We assume you have already chosen your subscription plan or decided to purchase a perpetual license. If not, please navigate to pricing page to select the best license option for your case and get your license. See How-to get pay-as-you-go subscription or How-to get perpetual license for more details.
IMPORTANT NOTE: if you decide to use an advanced deployment type, make sure you have purchased a license key for at least four instances of ThingsBoard PE. Otherwise, you need to modify the local copy of docker-compose.yml) to use the number of ThingsBoard instances that you’ve purchased. We will reference the license key you have obtained during this step as PUT_YOUR_LICENSE_SECRET_HERE later in this guide.
Step 5. Configure your license key
1
2
cd tb-pe-docker-compose
nano tb-node.env
and put the license secret parameter instead of “PUT_YOUR_LICENSE_SECRET_HERE”:
1
2
3
# ThingsBoard server configuration
...
TB_LICENSE_SECRET=PUT_YOUR_LICENSE_SECRET_HERE
Step 6. Configure deployment type
Starting ThingsBoard v2.2, it is possible to install ThingsBoard cluster using new microservices architecture and docker containers. See microservices architecture page for more details.
The docker compose scripts support three deployment modes. In order to set the deployment mode, change the value of TB_SETUP variable in .env file to one of the following:
basic(recommended, set by default) - ThingsBoard Core and Rule Engine are launched inside one JVM (requires only one license). MQTT, CoAP and HTTP transports are launched in separate containers.monolith- ThingsBoard Core and Rule Engine are launched inside one JVM (requires only one license). MQTT, CoAP and HTTP transports are also launched in the same JVM to minimize memory footprint and server requirements.advanced- ThingsBoard Core and Rule Engine are launched in separate containers and are replicated one JVM (requires 4 licenses).
All deployment modes support separate JS executors, Redis, and different queues.
Step 7. Configure ThingsBoard database
Before performing initial installation you can configure the type of database to be used with ThingsBoard.
In order to set database type change the value of DATABASE variable in .env file to one of the following:
postgres- use PostgreSQL database;hybrid- use PostgreSQL for entities database and Cassandra for timeseries database;
NOTE: According to the database type corresponding docker service will be deployed (see docker-compose.postgres.yml, docker-compose.hybrid.yml for details).
Step 8. Choose ThingsBoard queue service
ThingsBoard is able to use various messaging systems/brokers for storing the messages and communication between ThingsBoard services. How to choose the right queue implementation?
In Memory queue implementation is not suitable for any sort of cluster deployments.
-
Kafka is recommended for production deployments and used by default. This queue is used on the most of ThingsBoard production environments now. It is useful for both on-prem and private cloud deployments. It is also useful if you like to stay independent from your cloud provider. However, some providers also have managed services for Kafka. See AWS MSK for example.
-
RabbitMQ is recommended if you don’t have much load and you already have experience with this messaging system.
-
AWS SQS is a fully managed message queuing service from AWS. Useful if you plan to deploy ThingsBoard on AWS.
-
Google Pub/Sub is a fully managed message queuing service from Google. Useful if you plan to deploy ThingsBoard on Google Cloud.
-
Azure Service Bus is a fully managed message queuing service from Azure. Useful if you plan to deploy ThingsBoard on Azure.
-
Confluent Cloud is a fully managed streaming platform based on Kafka. Useful for a cloud agnostic deployments.
See corresponding architecture page and rule engine page for more details.
|
Apache Kafka is an open-source stream-processing software platform. Configure ThingsBoard environment file: Check following line: |
AWS SQS ConfigurationTo access AWS SQS service, you first need to create an AWS account. To work with AWS SQS service you will need to create your next credentials using this instruction:
Configure ThingsBoard environment file: Check following line: Configure AWS SQS environment file for ThingsBoard queue service: Don’t forget to replace “YOUR_KEY”, “YOUR_SECRET” with your real AWS SQS IAM user credentials and “YOUR_REGION” with your real AWS SQS account region: |
Google Pub/Sub ConfigurationTo access Pub/Sub service, you first need to create an Google cloud account. To work with Pub/Sub service you will need to create a project using this instruction. Create service account credentials with the role “Editor” or “Admin” using this instruction, and save json file with your service account credentials step 9 aqui. Configure ThingsBoard environment file: Check following line: Configure Pub/Sub environment file for ThingsBoard queue service: Don’t forget to replace “YOUR_PROJECT_ID”, “YOUR_SERVICE_ACCOUNT” with your real Pub/Sub project id, and service account (it is whole data from json file): |
Azure Service Bus ConfigurationTo access Azure Service Bus, you first need to create an Azure account. To work with Service Bus service you will need to create a Service Bus Namespace using this instruction. Create Shared Access Signature using this instruction. Configure ThingsBoard environment file: Check following line: Configure Service Bus environment file for ThingsBoard queue service: Don’t forget to replace “YOUR_NAMESPACE_NAME” with your real Service Bus namespace name, and “YOUR_SAS_KEY_NAME”, “YOUR_SAS_KEY” with your real Service Bus credentials. Note: “YOUR_SAS_KEY_NAME” it is “SAS Policy”, “YOUR_SAS_KEY” it is “SAS Policy Primary Key”: |
|
For installing RabbitMQ use this instruction. Configure ThingsBoard environment file: Check following line: Configure RabbitMQ environment file for ThingsBoard queue service: Don’t forget to replace “YOUR_USERNAME” and “YOUR_PASSWORD” with your real user credentials, “localhost” and “5672” with your real RabbitMQ host and port: |
Confluent Cloud ConfigurationTo access Confluent Cloud you should first create an account, then create a Kafka cluster and get your API Key. Configure ThingsBoard environment file: Check following line: Configure Confluent Cloud environment file for ThingsBoard queue service: Don’t forget to replace “CLUSTER_API_KEY”, “CLUSTER_API_SECRET” and “confluent.cloud:9092” with your real Confluent Cloud bootstrap servers: |
Step 9. Running
Execute the following command to create log folders for the services and chown of these folders to the docker container users. To be able to change user, chown command is used, which requires sudo permissions (script will request password for a sudo access):
1
./docker-create-log-folders.sh
Execute the following command to run installation:
1
./docker-install-tb.sh --loadDemo
Where:
--loadDemo- optional argument. Whether to load additional demo data.
Execute the following command to start services:
1
./docker-start-services.sh
After a while when all services will be successfully started you can open http://{your-host-ip} in you browser (for ex. http://localhost).
You should see ThingsBoard login page.
Use the following default credentials:
- System Administrator: sysadmin@thingsboard.org / sysadmin
If you installed DataBase with demo data (using --loadDemo flag) you can also use the following credentials:
- Tenant Administrator: tenant@thingsboard.org / tenant
- Customer User: customer@thingsboard.org / customer
In case of any issues you can examine service logs for errors. For example to see ThingsBoard node logs execute the following command:
1
2
. .env
docker-compose -f $TB_SETUP/docker-compose.yml logs -f tb-core1 tb-rule-engine1
Or use the following command to see the state of all the containers:
1
2
. .env
docker-compose -f $TB_SETUP/docker-compose.yml ps
Use the following command to inspect the logs of all running services.
1
2
. .env
docker-compose -f $TB_SETUP/docker-compose.yml logs -f
See docker-compose logs command reference for details.
Execute the following command to stop services:
1
./docker-stop-services.sh
Execute the following command to stop and completely remove deployed docker containers:
1
./docker-remove-services.sh
Execute the following command to update particular or all services (pull newer docker image and rebuild container):
1
./docker-update-service.sh [SERVICE...]
Where:
[SERVICE...]- list of services to update (defined in docker-compose configurations). If not specified all services will be updated.
Upgrading
In case when database upgrade is needed, execute the following commands:
1
2
./docker-stop-services.sh
./docker-remove-services.sh
Edit .env file set “TB_VERSION” to target version (f.e. currently you on 3.2.1 so in this case you need to set 3.2.2)
1
./docker-update-service.sh [SERVICE...]
Where:
SERVICE...- list of services to update (defined in docker-compose configurations). If not specified all services will be updated.
Generate certificate for HTTPS
We using HAproxy for proxying traffic to containers and for web UI by default we using 80 and 443 ports. For using HTTPS with a valid certificate, execute these commands:
1
2
docker exec haproxy-certbot certbot-certonly --domain your_domain --email your_email
docker exec haproxy-certbot haproxy-refresh
NOTE: Valid certificate used only, when you visit web UI by domain in URL. If you using IP address for access to UI, this would be used self-signed certificate.
-
Getting started guides - Esses guias fornecem uma visão geral rápida dos principais recursos do RETINA. Projetado para ser concluído em 15-30 minutos.
-
Connect your device - Learn how to connect devices based on your connectivity technology or solution.
-
Data visualization - These guides contain instructions how to configure complex ThingsBoard dashboards.
-
Data processing & actions - Learn how to use Mecanismo de Regra RETINA.
-
IoT Data analytics - Learn how to use rule engine to perform basic analytics tasks.
-
amostras de hardware - Learn how to connect various hardware platforms to ThingsBoard.
-
Advanced features - Learn about advanced ThingsBoard features.
-
Contribution and Development - Learn about contribution and development in ThingsBoard.